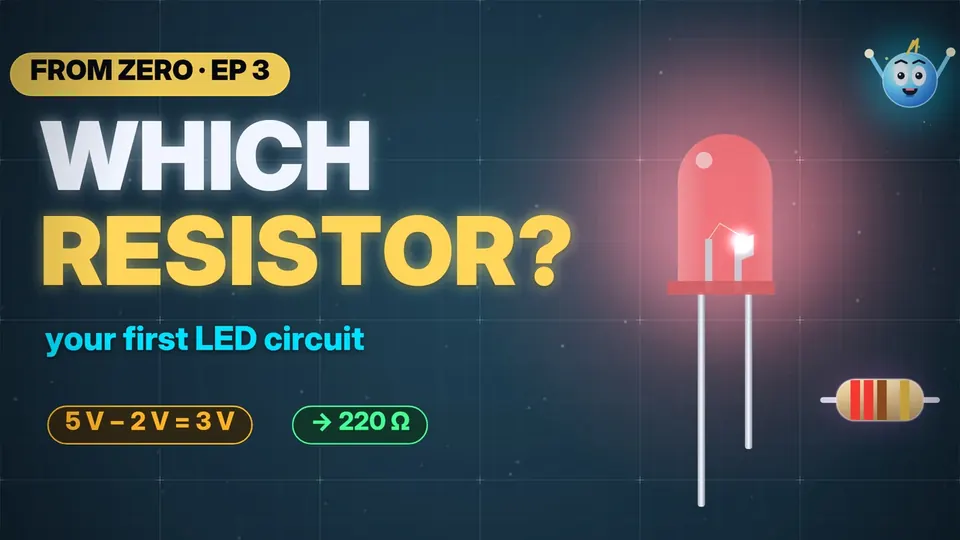
Electronics from Zero · EPISODE 3 · 2:49
Your First Circuit, an LED + the Right Resistor
Which resistor does an LED need? Learn the 3-step recipe in under 3 minutes and build your first real circuit — with a 5 V USB port or Arduino pin, a 9 V battery, and red or white LEDs.
// CHAPTERS · TAP TO JUMP
// IN THIS EPISODE
What you'll learn
- LED = light emitting diode, a one-way street for current. Long leg = + (anode), short leg = − (cathode), flat edge on the rim = −. Backwards = no light (on a small battery it does no harm).
- Each LED takes a fixed slice of the voltage: red ≈ 2 V, blue / white ≈ 3 V. A normal 5 mm LED is happy up to 20 mA.
- The recipe: 1) supply − LED voltage (5 V − 2 V = 3 V) · 2) ÷ a safe current (15 mA = 0.015 A → 200 Ω) · 3) pick the next standard size up → 220 Ω (red-red-brown) → about 14 mA.
- 9 V + red LED: 7 V ÷ 0.015 A ≈ 467 Ω → 470 Ω. White LED on 5 V: 2 V ÷ 0.015 A ≈ 133 Ω → 150 Ω.
- The resistor can go before or after the LED — same current all the way around the loop.
- Heat: 3 V × 0.014 A ≈ 40 mW — a ¼ W (250 mW) resistor is plenty. Too big = dim, too small = hot and dies early.
// 30-SECOND SHORTS ON THIS
Quick refreshers
 EP.01 · LED Series · 1What actually happens when you turn ON an LED?
 EP.02 · LED Series · 2Why does an LED burn without a resistor?
 EP.32 · Electronics Basics · 7The DIODE: the one-way valve that turns AC into DC
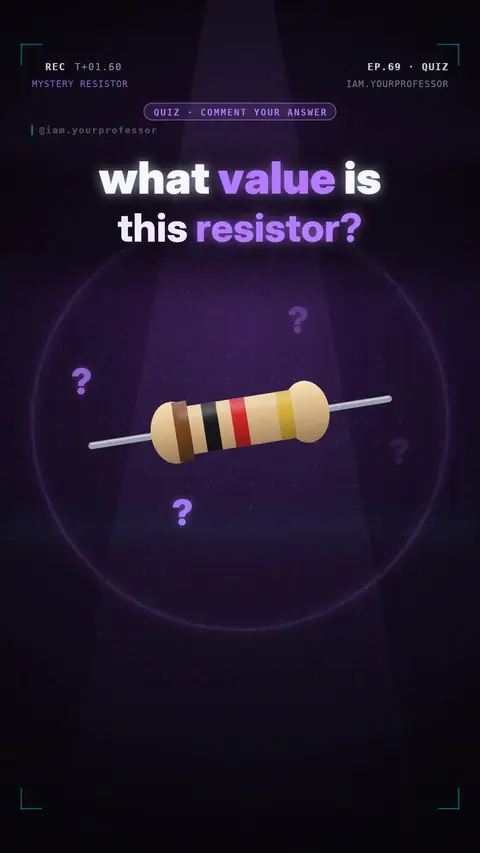 EP.69 · QuizQuiz: brown-black-red-gold, what value is this resistor?
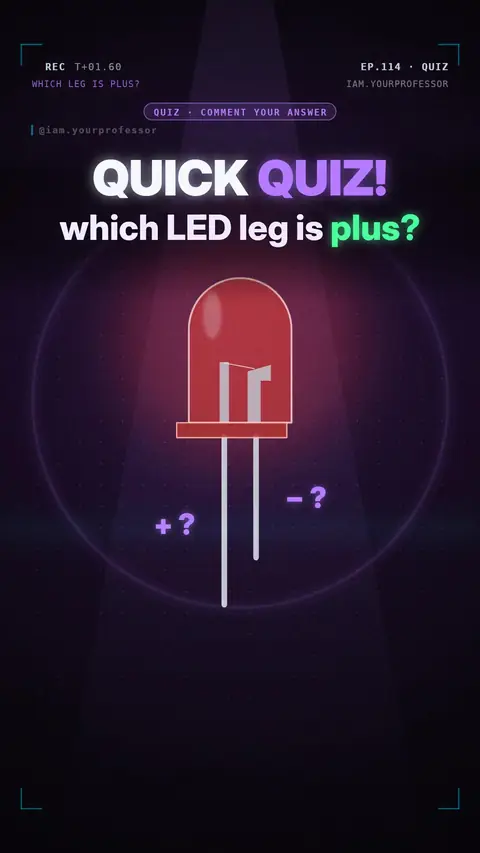 EP.114 · QuizQuiz #8: Which LED leg is plus?
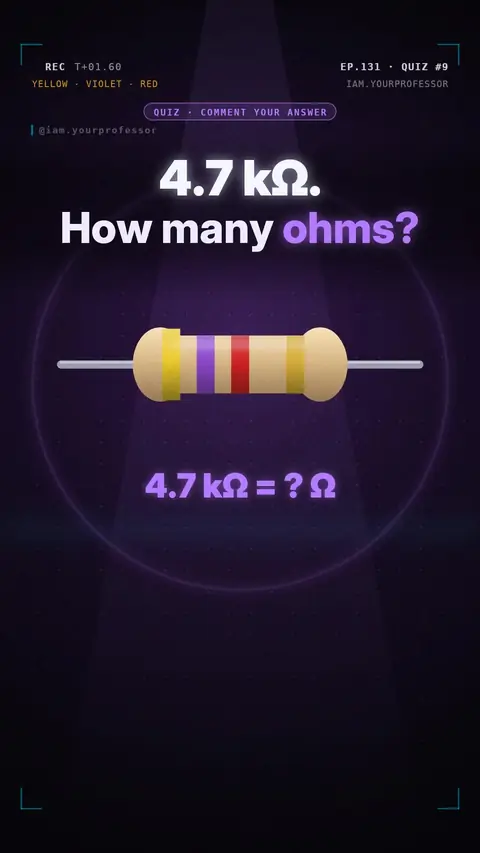 EP.131 · QuizQuiz #9: 4.7 kΩ is how many ohms?
// NEWSLETTER · FREE
Get the next episode first
One email when a new episode drops. No spam.
✓ You're on the list! We'll email you when new lessons drop.
By joining you agree to the privacy policy.