Arduino: Zero to First Project · EPISODE 5 · 2:40
Build an Automatic Night Light
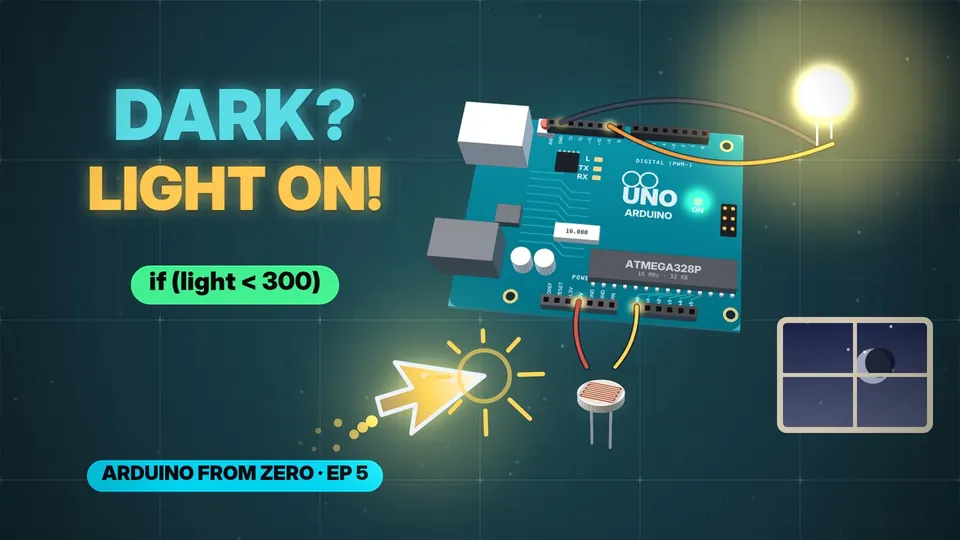
Build an Arduino night light that switches on by itself when the room gets dark! A light sensor (LDR) on A0, an LED on pin 9, an if / else — and a pro trick that stops the flicker at sunset. The final project of the series, explained from zero in under 3 minutes.
// CHAPTERS · TAP TO JUMP
// IN THIS EPISODE
What you'll learn
- The light sensor: a light-dependent resistor (LDR) + a 10 kΩ resistor from 5 V to ground; the middle point goes to A0. More light → more volts → a bigger number.
- The LED on pin 9: long leg (+) toward pin 9, short leg (−) to ground, with a 220 Ω resistor in the line ((5 − 2) V ÷ 220 Ω ≈ 14 mA — safe).
- Find your numbers first: open the Serial Monitor (Episode 4). Daylight ≈ 600, covered ≈ 50 → pick a number in between: 300.
- The code:
void setup() { pinMode(9, OUTPUT); } void loop() { int light = analogRead(A0); if (light < 300) { digitalWrite(9, HIGH); } else { digitalWrite(9, LOW); } } - No delay() at all: loop() runs thousands of times a second, so the light reacts instantly. With delay(5000) it could answer up to 5 seconds late.
- The flicker fix (hysteresis): at sunset the reading wobbles around 300 (298, 302, 299…) and the LED flickers. Use two numbers — ON below 300, OFF above 400; in between it keeps doing what it was doing: Your home thermostat uses the very same trick.
if (light < 300) digitalWrite(9, HIGH);
if (light > 400) digitalWrite(9, LOW);
// 30-SECOND SHORTS ON THIS
Quick refreshers
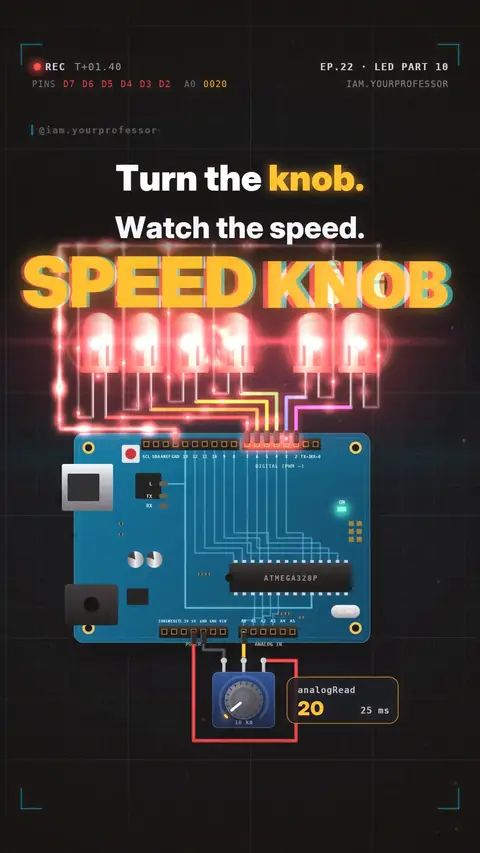 EP.22 · LED Series · 10Speed knob: potentiometer + analogRead
 EP.61 · LED Series · 11Serial.print: see your knob's number
 EP.113 · LED Series · 12millis() vs delay(): blink without freezing
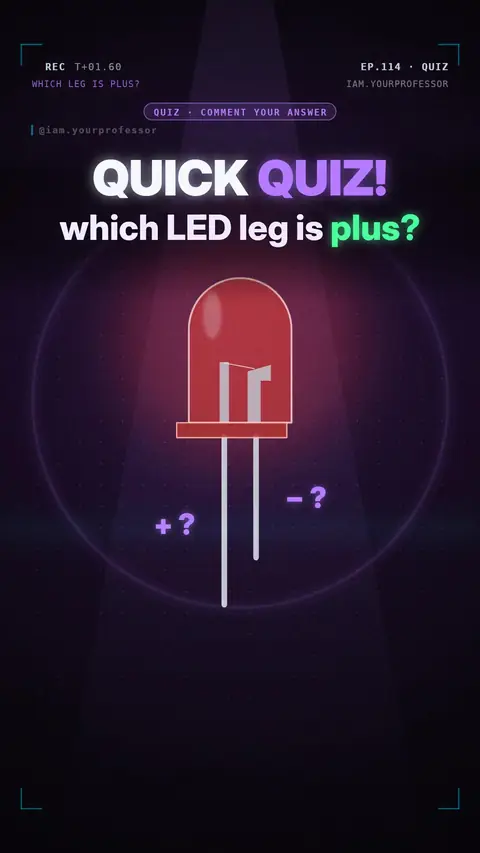 EP.114 · QuizQuiz #8: Which LED leg is plus?
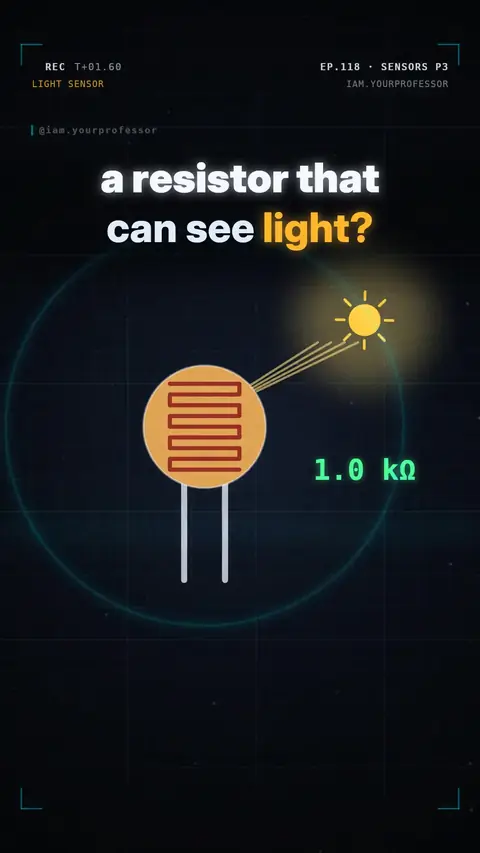 EP.118 · Sensors · 3Sensors Part 3: The LDR — the resistor that sees light
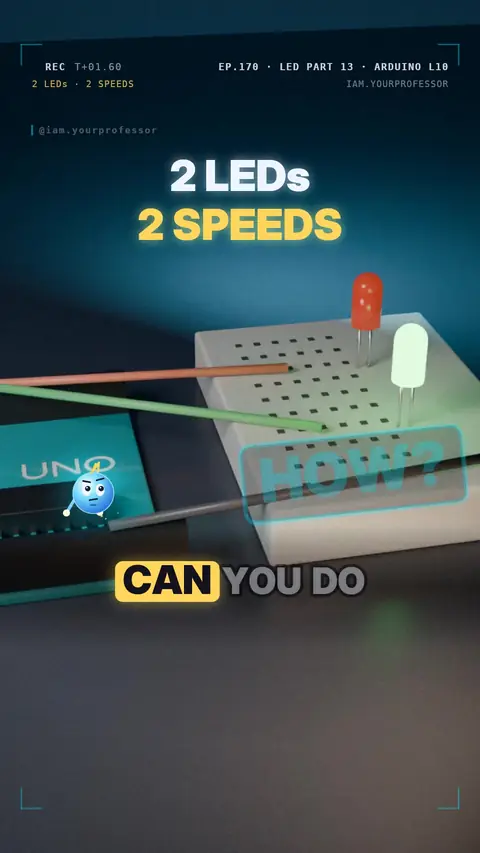 EP.170 · LED Series · 13LED Series Part 13 / Arduino C++ L10: Two LEDs, two speeds — multitasking with millis()
// NEWSLETTER · FREE
Get the next episode first
One email when a new episode drops. No spam.
✓ You're on the list! We'll email you when new lessons drop.
By joining you agree to the privacy policy.