// FREE COURSE B · Beginner
Arduino: Zero to First Project
5 episodes from unboxing the board to a working automatic night light.
5/5 episodes out14 min5 on YouTube0 cost
// EPISODES
Watch in order
Each episode stands alone, but they build on each other.
012:59
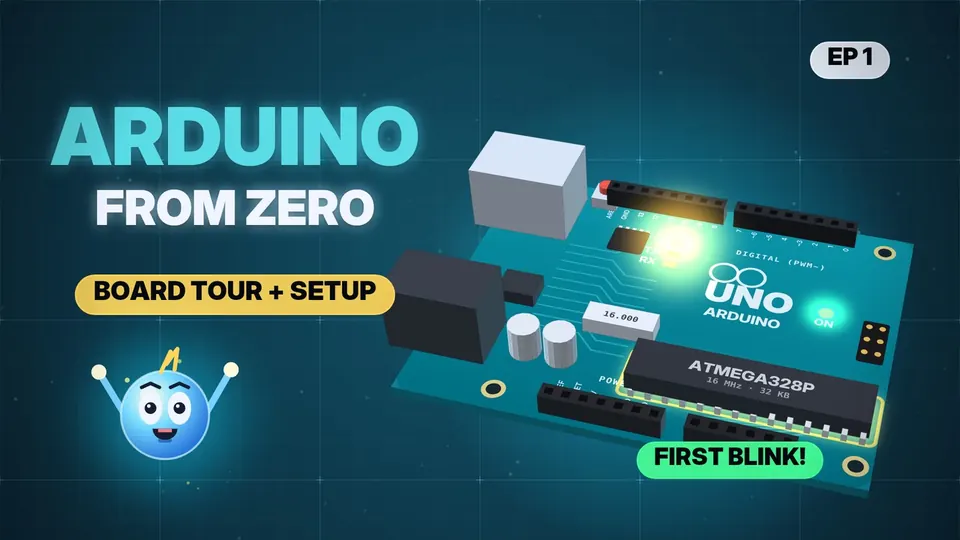
What's on the Board + Setup (first Blink)A tour of the Arduino Uno (the ATmega328P brain at 16 MHz, USB = power + code, 7–12 V jack, digital pins 0–13, analog A0–A5, 5V / 3.3V / GND, the L light on pin 13, ON / TX / RX, reset), then 5 steps to the first Blink: download the IDE, plug in, pick the board, pick the port (try a data cable), File → Examples → Blink → Upload.▶ Watch now
02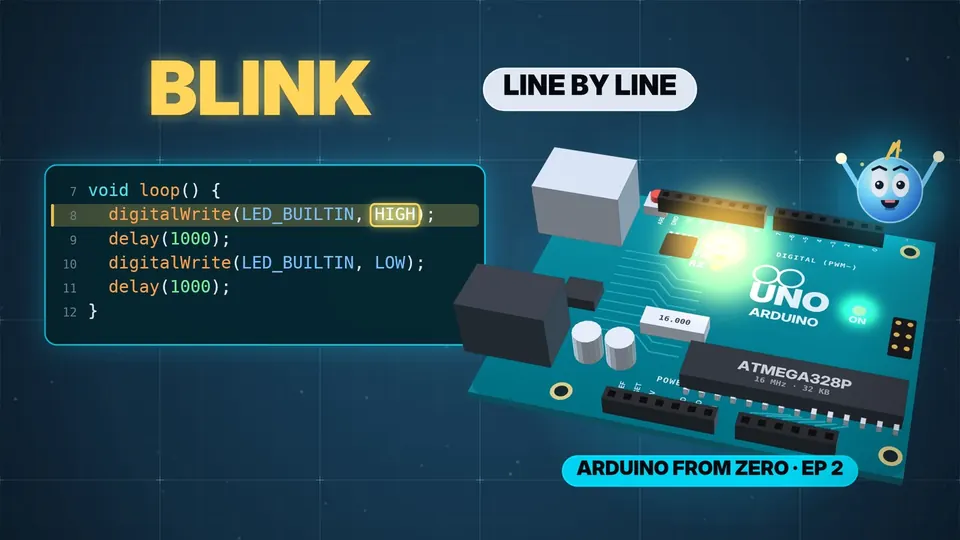 2:52
Blink, Line by LineEvery line of Blink: setup() runs once, loop() runs forever, { } are the walls, void hands nothing back, // is a note; pinMode(LED_BUILTIN, OUTPUT) — pin 13, push power out, the semicolon (forget it → error); digitalWrite HIGH = 5 V on, LOW = 0 V off, delay(1000) = 1 s, capitals matter, no 2nd delay → looks always on.▶ Watch now
03
 2:45
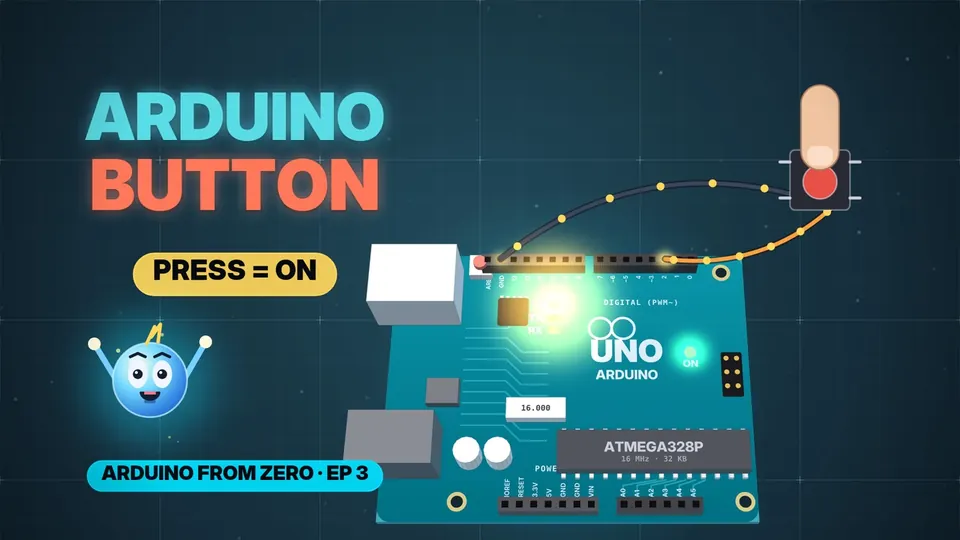
A Button (digitalRead + INPUT_PULLUP)A push button (4 legs, 2 joined pairs, a dome bridges them) wired to pin 2 + GND; digitalRead gives HIGH or LOW; a loose pin floats (random readings) — a pull-up holds it HIGH, pressing pulls it LOW; built in with INPUT_PULLUP; if (digitalRead(2) == LOW) light on, else off.▶ Watch now
04
 2:45
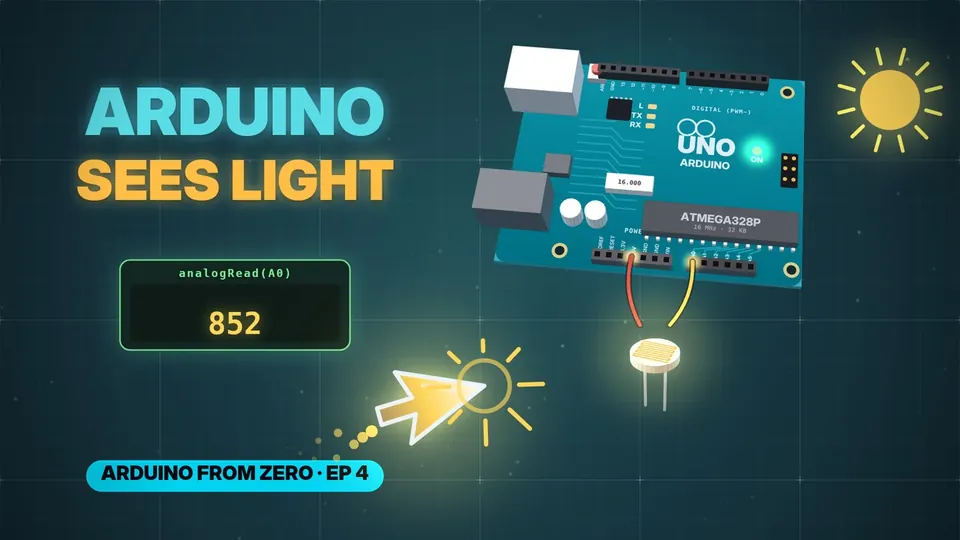
Read a Light Sensor + the Serial MonitorWire a light sensor (LDR + 10 kΩ divider) to A0, read it with analogRead (0–1023) and watch the numbers live in the Serial Monitor.▶ Watch now
05
 2:40
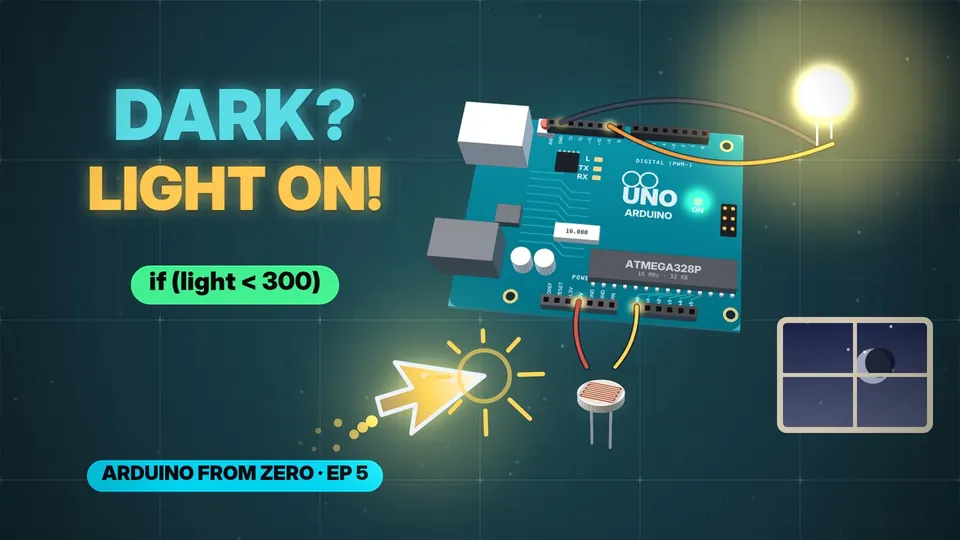
Build an Automatic Night LightPut it together: a light that turns on by itself in the dark — if / else on the sensor reading, no delay(), and two numbers (300 / 400) so it never flickers.▶ Watch now
2:59
What's on the Board + Setup (first Blink)A tour of the Arduino Uno (the ATmega328P brain at 16 MHz, USB = power + code, 7–12 V jack, digital pins 0–13, analog A0–A5, 5V / 3.3V / GND, the L light on pin 13, ON / TX / RX, reset), then 5 steps to the first Blink: download the IDE, plug in, pick the board, pick the port (try a data cable), File → Examples → Blink → Upload.▶ Watch now
022:52
Blink, Line by LineEvery line of Blink: setup() runs once, loop() runs forever, { } are the walls, void hands nothing back, // is a note; pinMode(LED_BUILTIN, OUTPUT) — pin 13, push power out, the semicolon (forget it → error); digitalWrite HIGH = 5 V on, LOW = 0 V off, delay(1000) = 1 s, capitals matter, no 2nd delay → looks always on.▶ Watch now
032:45
A Button (digitalRead + INPUT_PULLUP)A push button (4 legs, 2 joined pairs, a dome bridges them) wired to pin 2 + GND; digitalRead gives HIGH or LOW; a loose pin floats (random readings) — a pull-up holds it HIGH, pressing pulls it LOW; built in with INPUT_PULLUP; if (digitalRead(2) == LOW) light on, else off.▶ Watch now
042:45
Read a Light Sensor + the Serial MonitorWire a light sensor (LDR + 10 kΩ divider) to A0, read it with analogRead (0–1023) and watch the numbers live in the Serial Monitor.▶ Watch now
052:40
Build an Automatic Night LightPut it together: a light that turns on by itself in the dark — if / else on the sensor reading, no delay(), and two numbers (300 / 400) so it never flickers.▶ Watch now
// NEWSLETTER · FREE
Get the next episode first
One email when a new episode drops. No spam.
✓ You're on the list! We'll email you when new lessons drop.
By joining you agree to the privacy policy.