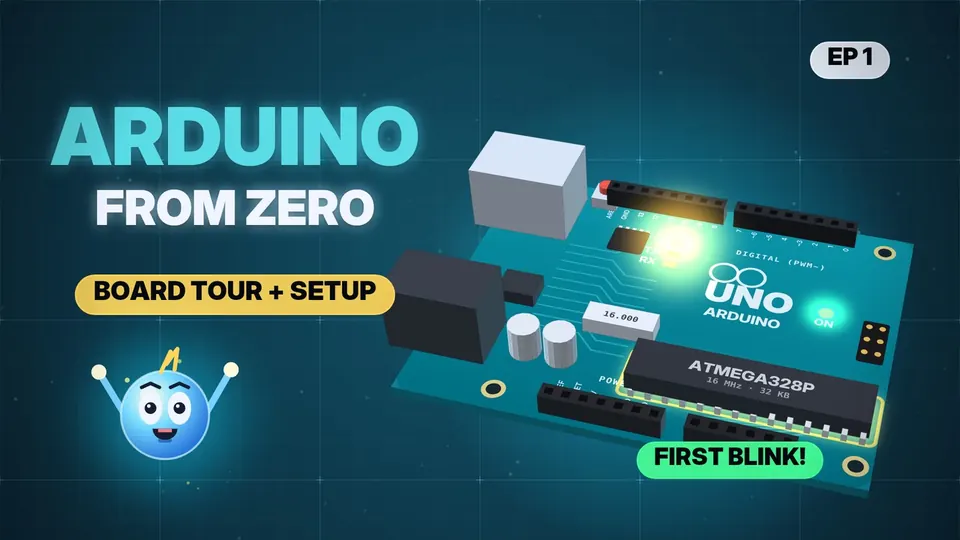
Arduino: Zero to First Project · EPISODE 1 · 2:59
What's on the Board + Setup (first Blink)
New to Arduino? In under 3 minutes: a tour of every part of the Arduino Uno, then 5 easy steps from the box to your first program — the little "L" light blinking, from your own computer. No experience needed.
// CHAPTERS · TAP TO JUMP
// IN THIS EPISODE
What you'll learn
- The big black chip is the brain: a microcontroller (ATmega328P), a tiny computer on one chip, 16 MHz — up to 16 million steps a second.
- USB port: power (5 V) + your program from the computer (Uno R3: USB-B, Uno R4: USB-C).
- Round power jack: a battery or adapter, 7–12 V.
- 14 digital pins (0–13): each is on (HIGH) or off (LOW). 6 analog pins (A0–A5): read in-between values, like a knob (0 … 1023). Power pins: 5V, 3.3V, GND.
- The "L" light is wired to pin 13 (LED_BUILTIN). ON = power. TX / RX flash when the board talks to your computer. Reset = your program starts again from the top.
- Setup: 1) download the free Arduino IDE from arduino.cc (Windows, macOS, Linux) 2) plug in the USB cable — the green ON light comes on 3) Tools → Board → Arduino AVR Boards → Arduino Uno 4) Tools → Port → the one that shows your Uno (Windows COM…, Mac /dev/cu.usbmodem…, Linux /dev/ttyACM0) 5) File → Examples → 01.Basics → Blink, then press Upload (→).
- No port in the list? Try another cable — some USB cables only charge (2 wires) and carry no data (a data cable has 4).
- "Done uploading." → the L light blinks: 1 second on, 1 second off.
- Pins read buttons, knobs and sensors, and switch LEDs, buzzers and motors. A pin + a transistor can drive a big motor (Electronics from Zero, Episode 6).
// 30-SECOND SHORTS ON THIS
Quick refreshers
 EP.03 · LED Series · 35 lines of C++ → a real LED turns ON
 EP.05 · LED Series · 4Make it BLINK
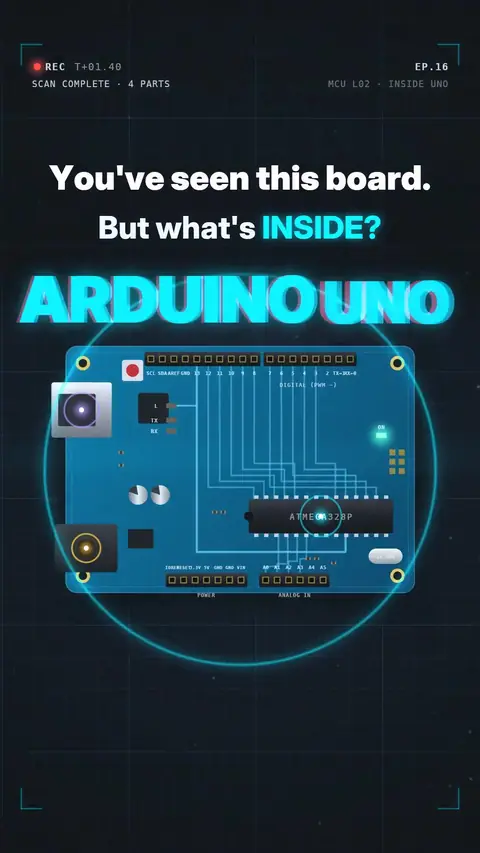 EP.16 · Microcontrollers · 2Inside an Arduino Uno
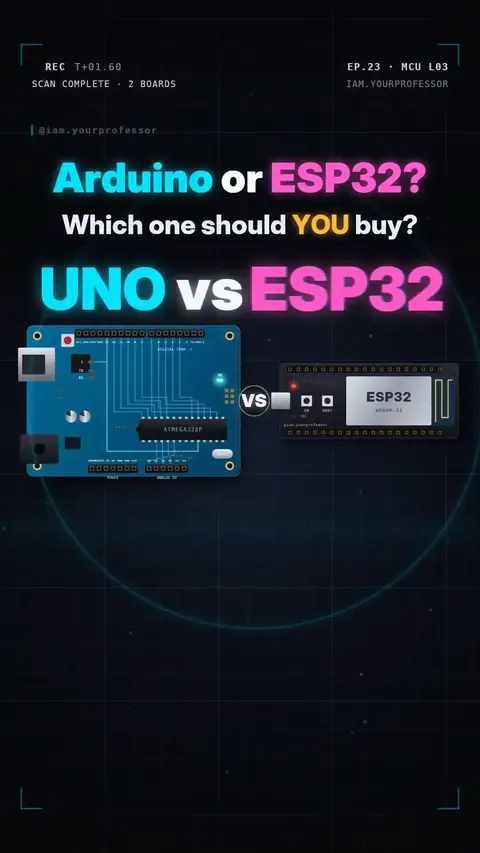 EP.23 · Microcontrollers · 3Arduino UNO vs ESP32
 EP.113 · LED Series · 12millis() vs delay(): blink without freezing
 EP.165 · Tech StoryTech Story #6: Why it's called Arduino
 EP.170 · LED Series · 13LED Series Part 13 / Arduino C++ L10: Two LEDs, two speeds — multitasking with millis()
// NEWSLETTER · FREE
Get the next episode first
One email when a new episode drops. No spam.
✓ You're on the list! We'll email you when new lessons drop.
By joining you agree to the privacy policy.