Arduino: Zero to First Project · EPISODE 2 · 2:52
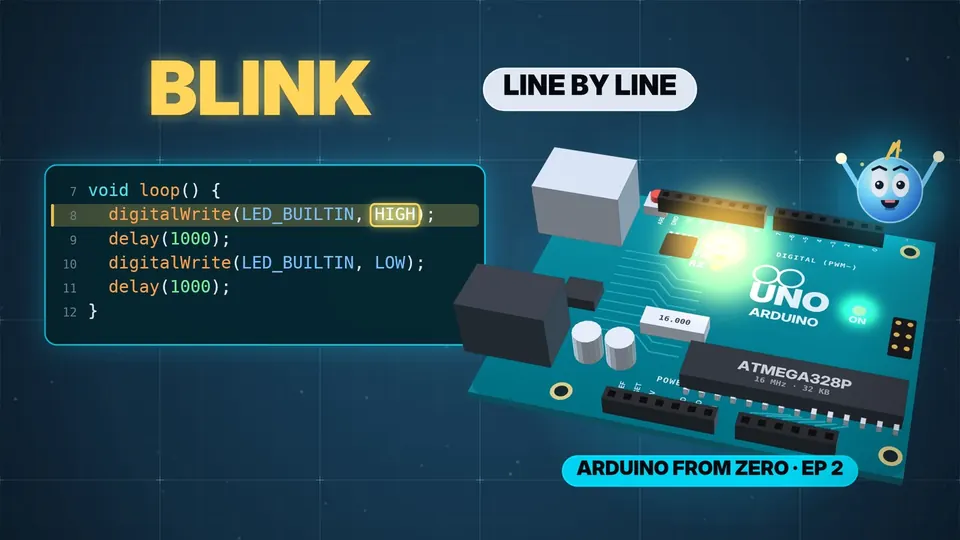
Blink, Line by Line
What does every line of the Arduino Blink sketch actually do? setup() and loop(), pinMode, LED_BUILTIN, OUTPUT, digitalWrite HIGH and LOW, and delay — explained in under 3 minutes, with two "pause and guess" moments.
// CHAPTERS · TAP TO JUMP
// IN THIS EPISODE
What you'll learn
- Every Arduino program has two boxes: setup() runs ONCE when the board powers on, loop() runs again and again forever (with nothing to slow it down, thousands of times a second).
- Curly brackets { } are the walls of each box. void = the box hands nothing back. // starts a note for humans — the chip skips it.
- pinMode(LED_BUILTIN, OUTPUT); — LED_BUILTIN is the name for pin 13 (the little "L" light on the Uno). OUTPUT = the pin pushes power out to drive something; INPUT = it listens.
- The semicolon ; ends every instruction, like a full stop. Forget it → the upload stops with "expected ';'". Leave out pinMode → the pin stays an input and the light glows only very dim.
- digitalWrite(LED_BUILTIN, HIGH); = 5 V out, light on. delay(1000); = wait 1000 milliseconds = 1 second.
digitalWrite(LED_BUILTIN, LOW); = 0 V, light off. Then loop() starts again from the top. - Capital letters matter: digitalwrite (all small) is an error.
- Delete the last delay and the light looks always on — it's off for only a few millionths of a second.
// 30-SECOND SHORTS ON THIS
Quick refreshers
 EP.03 · LED Series · 35 lines of C++ → a real LED turns ON
 EP.05 · LED Series · 4Make it BLINK
 EP.06 · LED Series · 5Make it FADE (PWM)
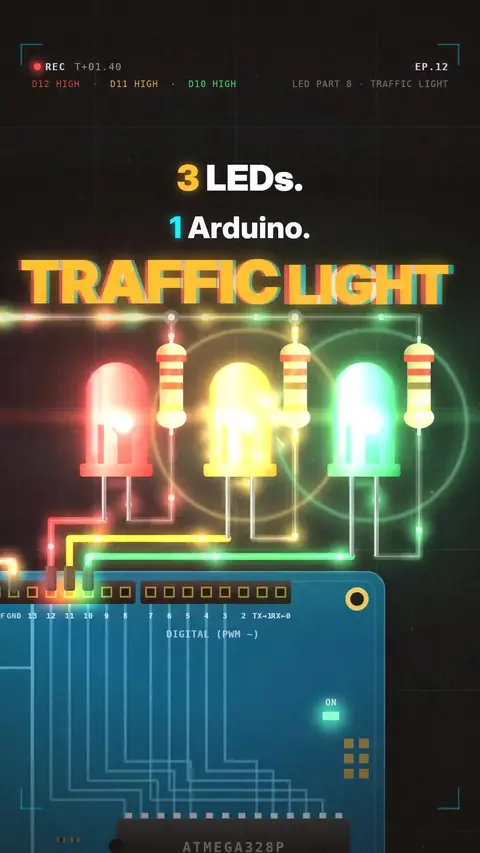 EP.12 · LED Series · 8Traffic light with 3 LEDs
 EP.61 · LED Series · 11Serial.print: see your knob's number
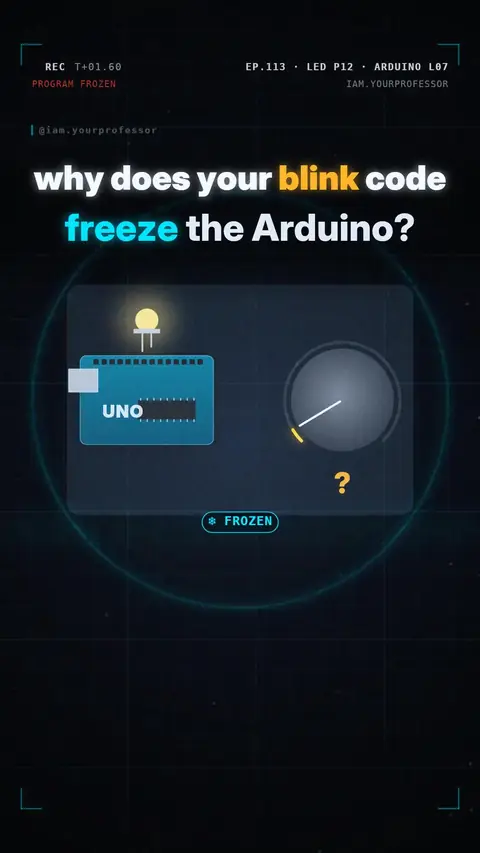 EP.113 · LED Series · 12millis() vs delay(): blink without freezing
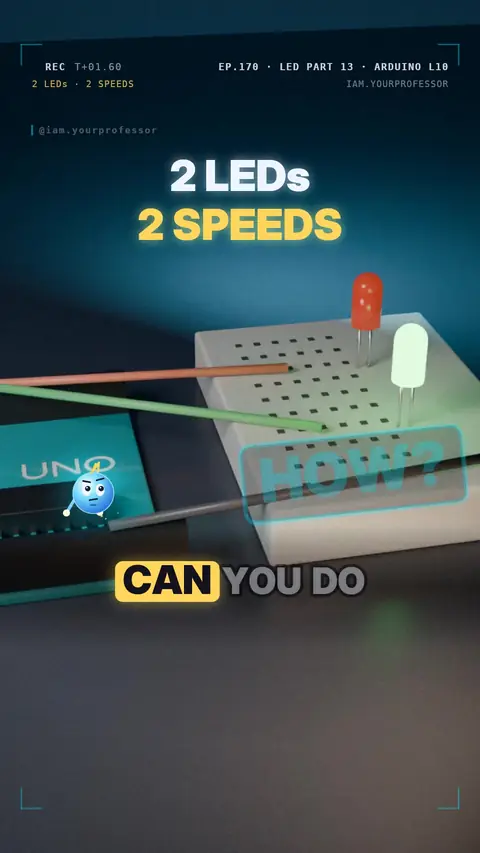 EP.170 · LED Series · 13LED Series Part 13 / Arduino C++ L10: Two LEDs, two speeds — multitasking with millis()
// NEWSLETTER · FREE
Get the next episode first
One email when a new episode drops. No spam.
✓ You're on the list! We'll email you when new lessons drop.
By joining you agree to the privacy policy.