Arduino: Zero to First Project · EPISODE 3 · 2:45
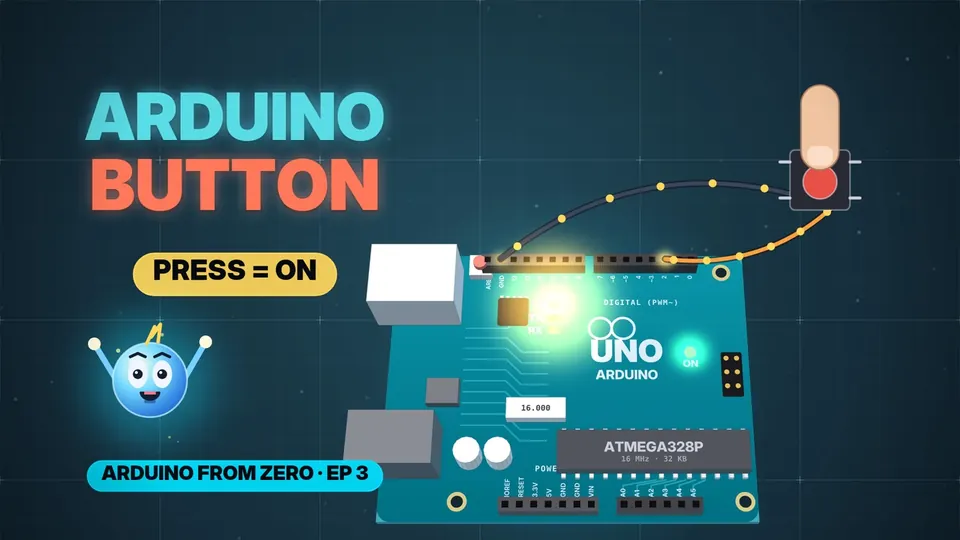
A Button (digitalRead + INPUT_PULLUP)
Make an LED obey your finger! How a push button works inside, how to wire it to an Arduino (just 2 wires), why a "floating" pin reads random junk, and how INPUT_PULLUP fixes it — plus your first if / else, in under 3 minutes.
// CHAPTERS · TAP TO JUMP
// IN THIS EPISODE
What you'll learn
- A tactile push button has 4 legs, joined inside in 2 pairs. Pressing it makes a metal dome bridge the two sides.
- Wiring: one side of the button to pin 2, the other side to GND. That's it — no resistor needed (see below).
- digitalRead(2) gives one of two answers: HIGH or LOW.
- With the button not pressed, the pin is connected to nothing — it "floats" and reads random HIGH / LOW, like a tiny antenna. Your light flickers for no reason.
- Fix: a pull-up resistor from the pin to 5 V holds it HIGH; pressing the button pulls it to ground → LOW. It's tens of thousands of ohms (≈ 20–50 kΩ inside the chip), so only a tiny current flows (5 V ÷ 50,000 Ω ≈ 0.1 mA).
- The Arduino has it built in: pinMode(2, INPUT_PULLUP); → not pressed = HIGH, pressed = LOW.
- The code:
if (digitalRead(2) == LOW) { digitalWrite(LED_BUILTIN, HIGH); } else { digitalWrite(LED_BUILTIN, LOW); } - == compares, = sets. loop() checks the button thousands of times a second, so the light reacts instantly.
// 30-SECOND SHORTS ON THIS
Quick refreshers
 EP.10 · LED Series · 6Control it with a BUTTON
 EP.11 · LED Series · 7Make it a TOGGLE
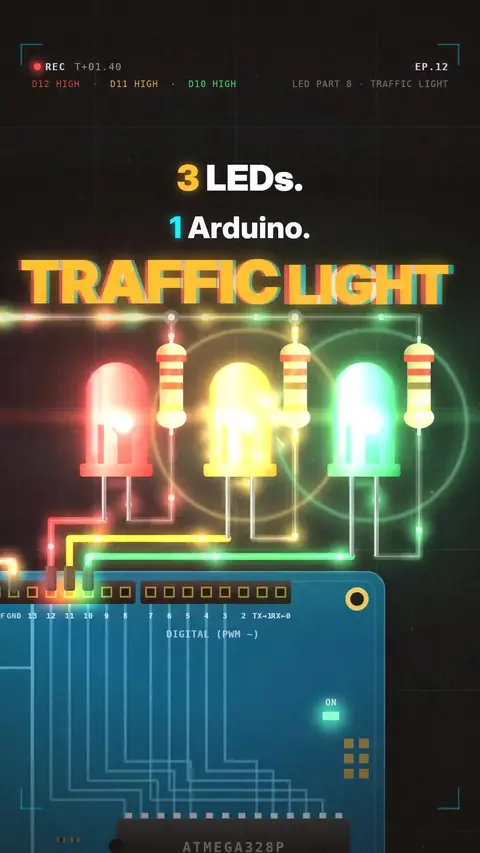 EP.12 · LED Series · 8Traffic light with 3 LEDs
 EP.113 · LED Series · 12millis() vs delay(): blink without freezing
 EP.170 · LED Series · 13LED Series Part 13 / Arduino C++ L10: Two LEDs, two speeds — multitasking with millis()
// NEWSLETTER · FREE
Get the next episode first
One email when a new episode drops. No spam.
✓ You're on the list! We'll email you when new lessons drop.
By joining you agree to the privacy policy.